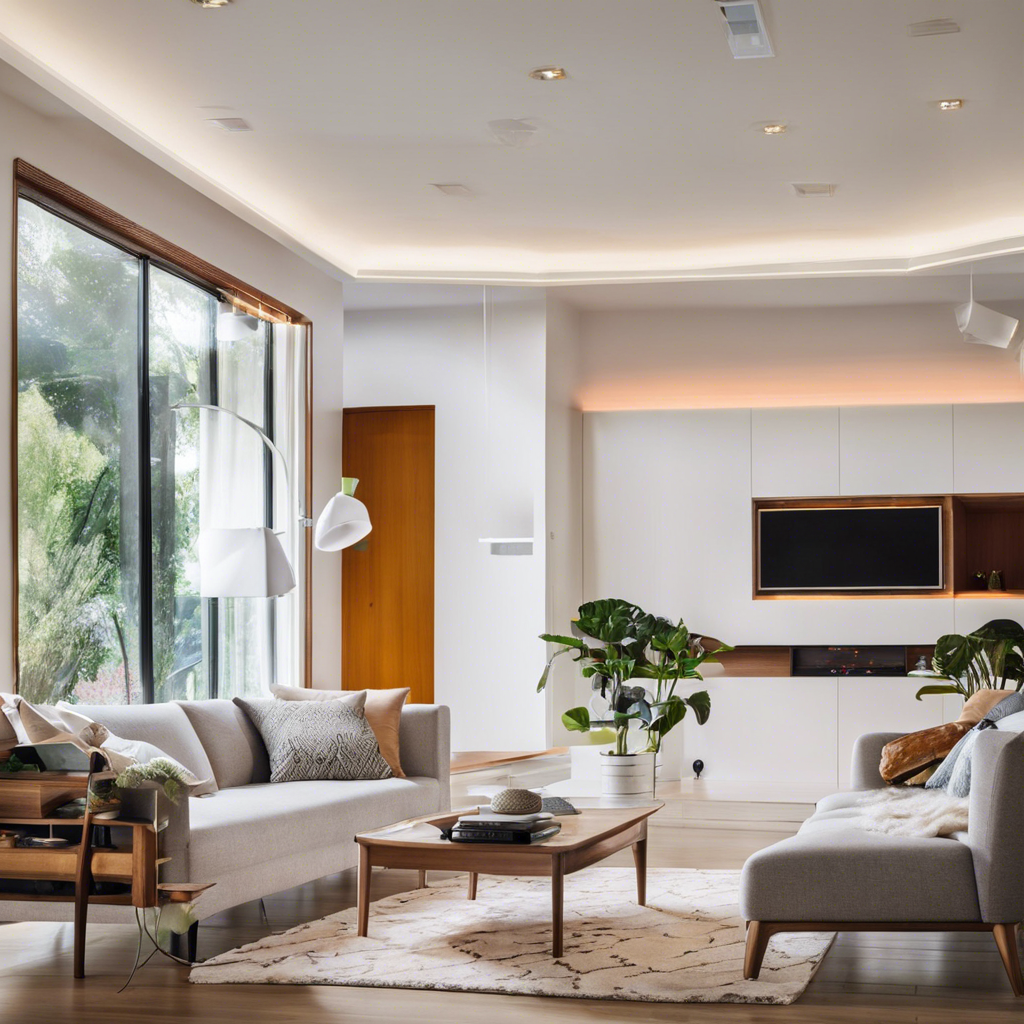
If you’re looking to upgrade your home lighting and add a touch of modern convenience and ambiance, installing smart lights is a great way to do it. Smart lights offer many benefits, including energy efficiency, remote control, and customizable lighting options. They can also be easily integrated into your home automation system, allowing you to control them with your voice or set up schedules and timers. But where do you start, and how do you go about installing smart lights in your home?
First, you’ll need to decide which type of smart light bulbs or fixtures you want to use. There are several options available, including LED, incandescent, and halogen bulbs, as well as a variety of fixtures such as lamps, ceiling lights, and outdoor lighting. You can choose smart lights that fit directly into your existing fixtures, or you can opt for a complete smart lighting system that includes a hub and a range of compatible lights and accessories.
Once you’ve chosen your smart lights, it’s time to plan their layout in your home. Consider which areas you want to illuminate and the ambiance you want to create in each space. You may want bright, task lighting in the kitchen, softer, dimmable lights in the bedroom, and colorful accent lighting in the living room. Planning the placement of your smart lights will help you determine the number and type of lights you need.
With a plan in mind, it’s now time to get your tools ready. Installing smart lights is generally an easy process, but you may need some basic tools such as a screwdriver, drill, and ladder, depending on the type of lights you’ve chosen. It’s always a good idea to have someone assist you, especially if you’re installing lights in hard-to-reach places or if you need to drill into walls.
When you’re ready, start by turning off the power to the circuit you’ll be working on at the breaker box. This step is crucial for your safety, ensuring that there’s no power flowing to the lights as you work. Carefully remove any traditional bulbs and disconnect the old fixtures if necessary. Now you’re ready to install your new smart lights.
For most screw-in smart bulbs, the process is as simple as screwing in the bulb just like you would with a traditional bulb. However, be sure to follow any specific instructions that came with your bulbs, as some may have unique pairing processes or require a certain orientation. If you’ve chosen a smart lighting system with a hub, you’ll need to connect the hub to your router and then pair each bulb or fixture with the hub.
With your smart lights installed, you can now set up your lighting scenes and automation. Connect your lights to your home Wi-Fi network, and download the corresponding app to your smartphone or tablet. Create an account and link your lights to your account. Now you can customize your lighting preferences, set schedules, and create scenes for different activities and moods.
One of the great benefits of smart lights is their voice control capability. To enable this, you’ll need a compatible voice assistant, such as Amazon Alexa, Google Assistant, or Apple Siri. Link your voice assistant to your smart lighting app, and you’ll be able to turn your lights on and off, adjust brightness, and change colors with just a simple voice command. It’s incredibly convenient and perfect for those moments when you don’t want to reach for your phone.
Smart lights also often integrate with other smart home devices, adding to their functionality and convenience. For example, you can set up your lights to turn on when your smart camera detects motion outside your home or have them flash when you receive a notification on your smartphone. The possibilities are endless, and the more smart devices you integrate, the more you can customize your home to your preferences.
Finally, don’t forget to regularly update your smart lighting system. Manufacturers often release software updates that improve the functionality and security of your smart lights. By keeping your system updated, you’ll ensure that you’re getting the most out of your investment and that your lights remain secure and protected from potential vulnerabilities. With these tips in mind, you’re now well on your way to enjoying the benefits of smart lighting in your home.
Does this satisfy your request?
