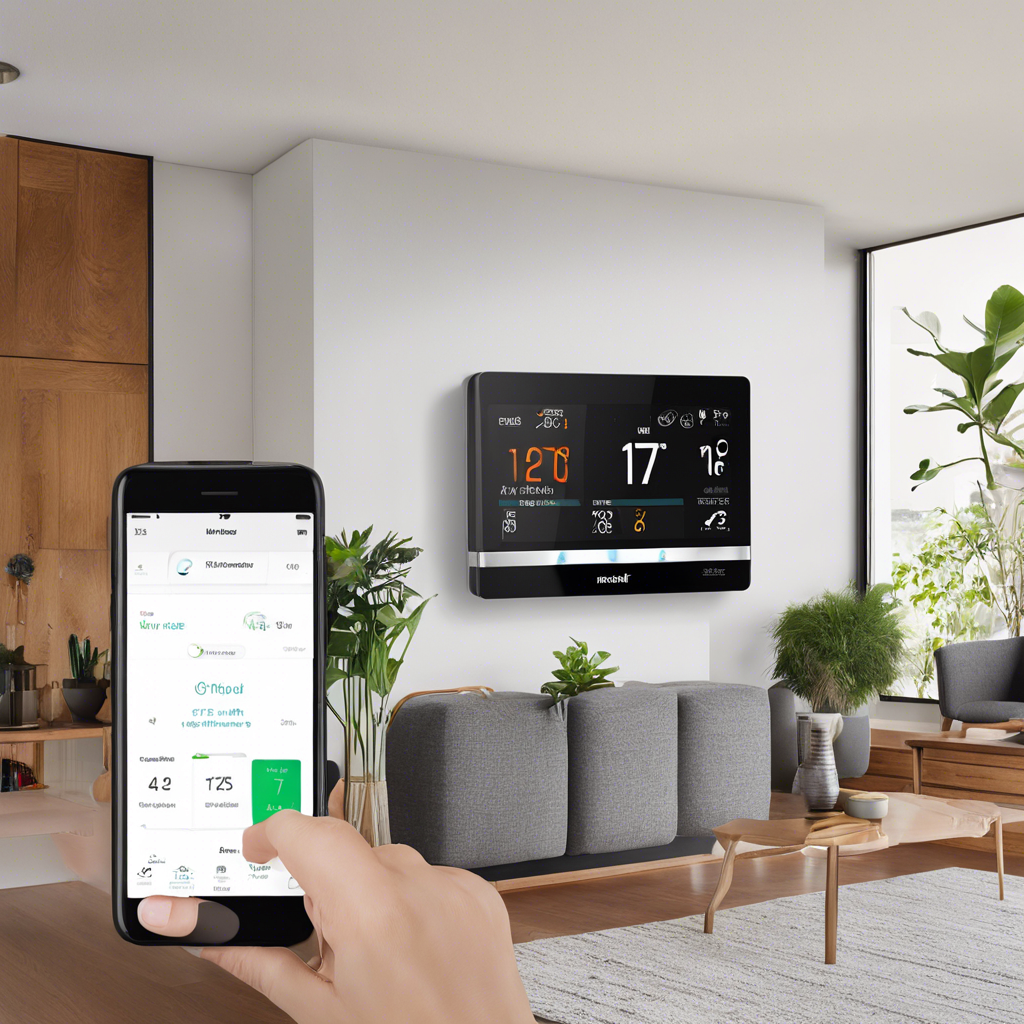
Installing a smart thermostat in your home offers a range of benefits, from energy savings to convenient remote control of your heating and cooling systems. Making the switch may seem daunting, but with the right tools and some careful planning, it is a project that most DIY enthusiasts can tackle themselves. In this article, we’ll walk you through the steps to safely and effectively install a smart thermostat, offering a cost-effective alternative to hiring a professional.
First, turn off the power to your current thermostat at the circuit breaker. This is an essential step to avoid electrical shocks during the installation process. With the power off, remove the old thermostat’s cover to access the wiring. Take a photo of the existing wiring setup for reference when connecting the new smart thermostat. It’s important to identify the wires correctly to ensure proper functioning and avoid damage to the system. Thermostat wires are low-voltage and typically labeled with colors to indicate their function. Carefully disconnect the wires from the old thermostat, taking note of their placement.
Now, it’s time to mount the new base. Screw in the base of your new smart thermostat, ensuring it is level and firmly attached to the wall. Most smart thermostat kits will come with a drill template and the necessary hardware for this step. With the base securely in place, you can begin connecting the wires to their corresponding terminals, following the installation guide provided by the manufacturer and using your reference photo from earlier. It is crucial that you match the wires accurately to the correct terminals to avoid issues later on.
